
• Home
  • News
  • Guides
  • GES Files
  • NSMQ
  • About
  • Copyright
  • Contact Us
  • Privacy Policy
  • About Justice Donkoh
No Result
View All Result
  • Home
  • News
  • Guides
  • GES Files
  • NSMQ
  • About
  • Copyright
  • Contact Us
  • Privacy Policy
  • About Justice Donkoh
No Result
View All Result
GESHub.org
No Result
View All Result

Google Contacts | Simple steps to permanently save your phone numbers

Justice Donkoh by Justice Donkoh
in News
A A
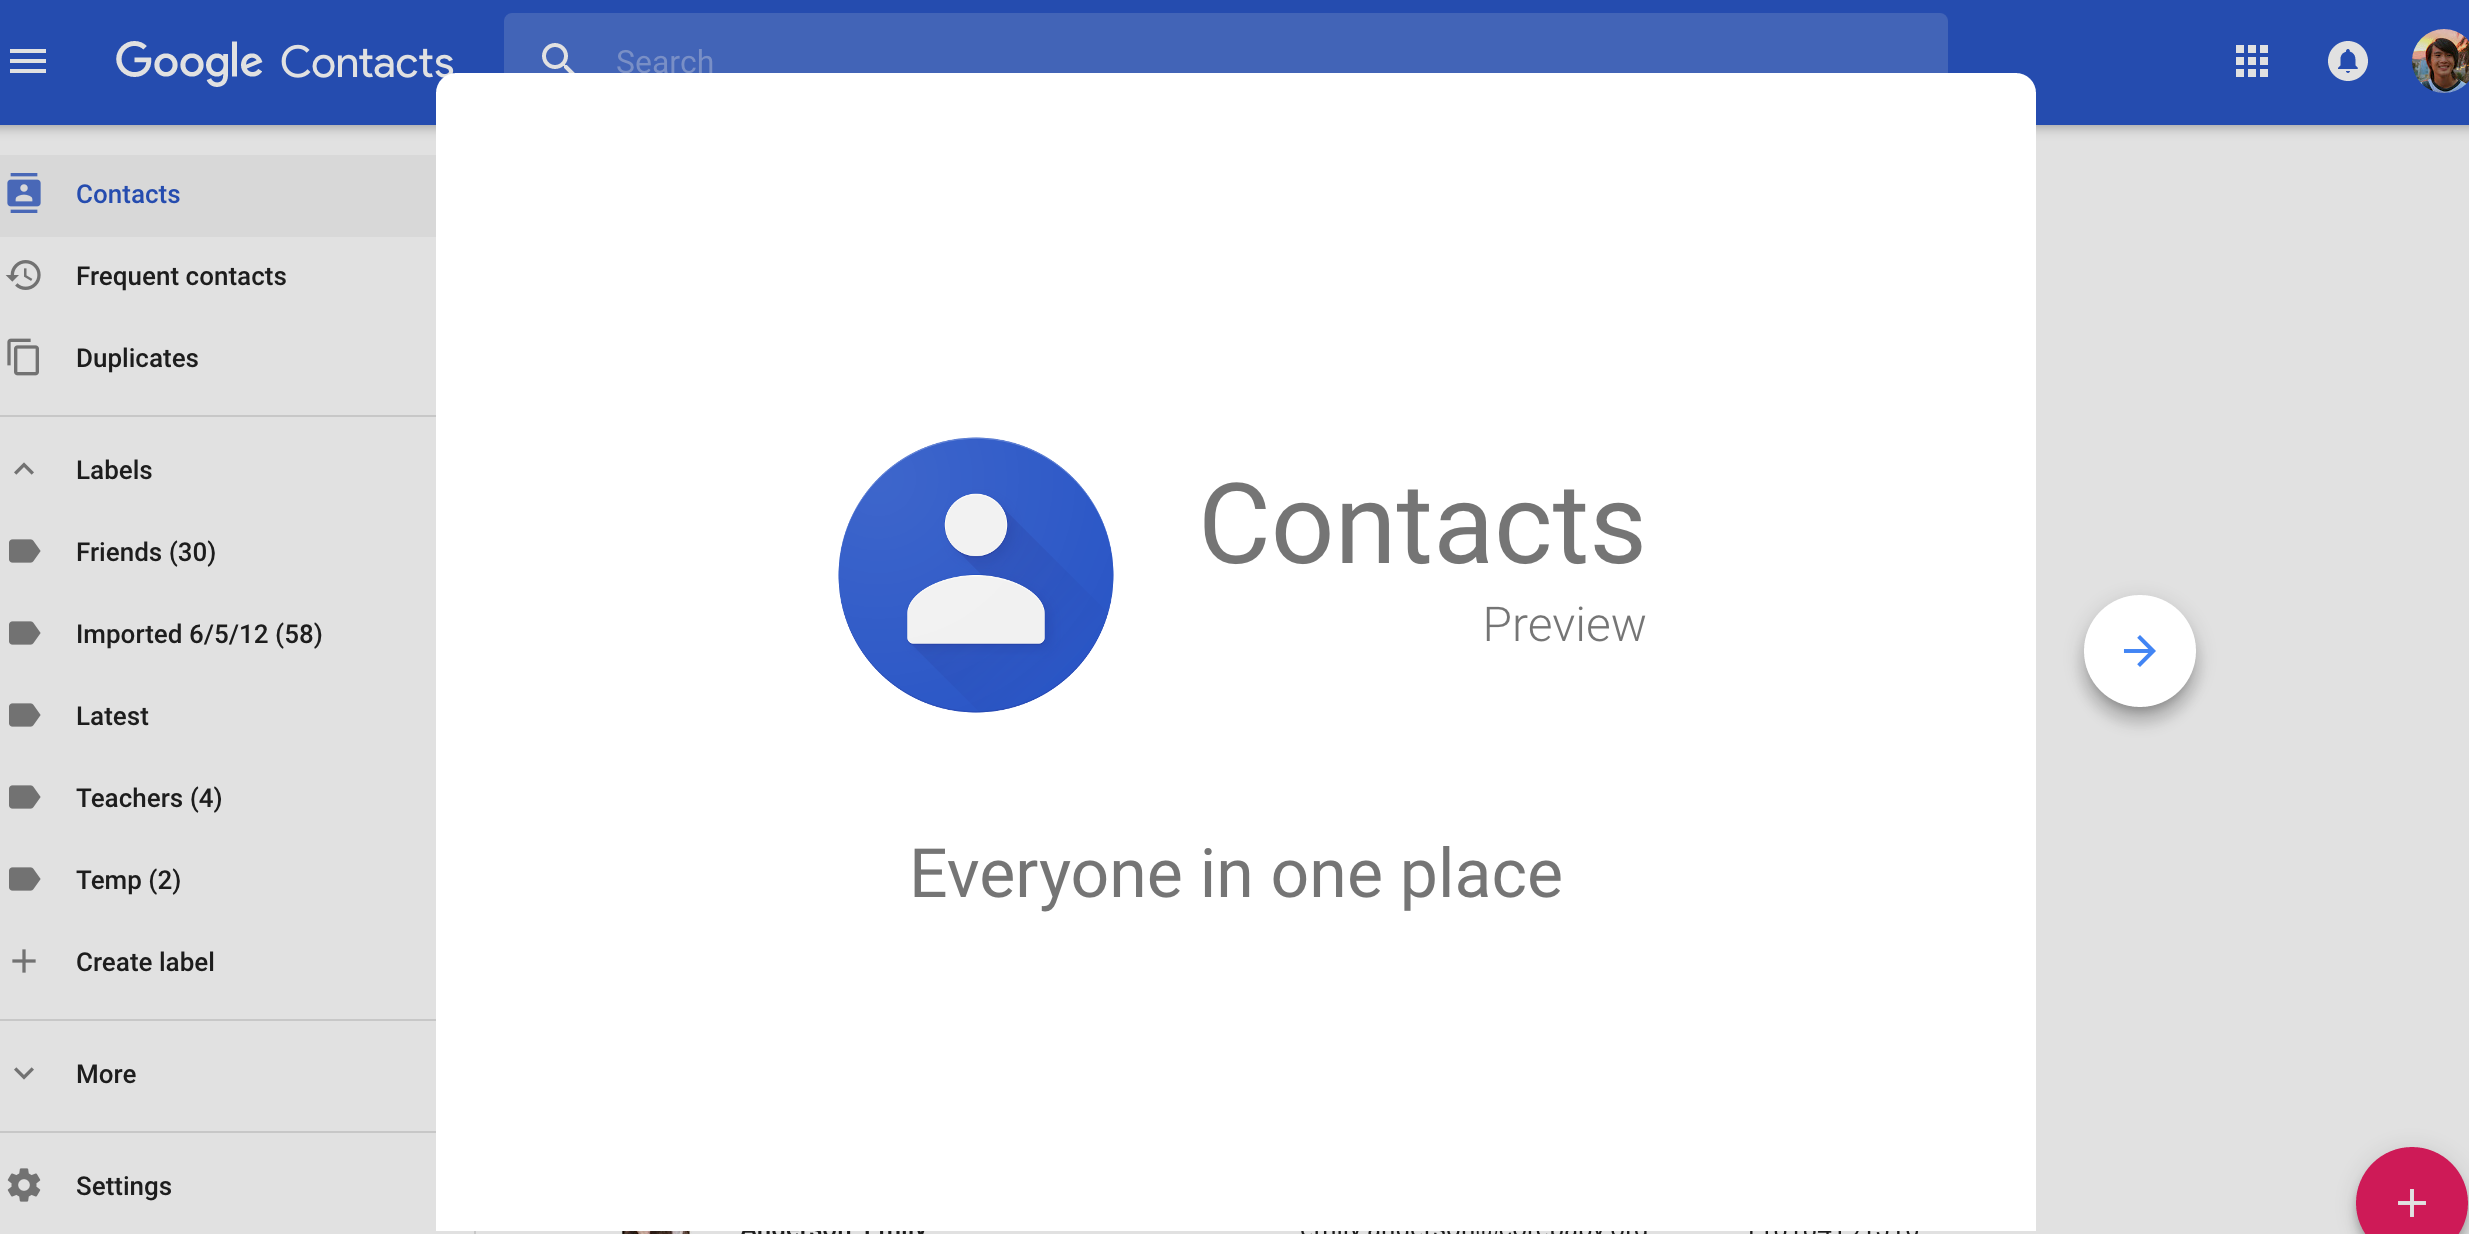
Google Contacts
Share on FacebookShare on Twitter

Are you tired of losing your contacts every time you change your phone or lose your SIM card? Thanks to Google Contacts, you can now seamlessly transfer or import your SIM contacts to your Google account, ensuring that your valuable phone numbers and contact information are always safe and readily accessible.

Whether you are using an Android or iOS device, this hassle-free procedure works like a charm.

Table of Contents

Toggle
  • Why choose Google Contacts?
  • Importing SIM contacts to Google Contacts: A Step-by-Step Guide
    • Step 1: Insert the SIM into Your Phone
    • Step 2: Open the Contacts App
    • Step 3: Access the Menu
    • Step 4: Go to Settings
    • Step 5: Import SIM Card to Google Contacts

Why choose Google Contacts?

Google Contacts offers a secure and reliable solution to save and manage your contact information. By storing names, email addresses, phone numbers, and more, you can rest assured that your contacts are not only preserved but also synchronized with your Google account.

READ ALSO  | Just In | Ghana TVET Service Releases 2026 Graduate Recruitment Application Status – Check Here!

This means you can access your contacts from any device with an internet connection, ensuring you never lose them again.

Importing SIM contacts to Google Contacts: A Step-by-Step Guide

Here is a simple step-by-step guide on how to transfer your SIM card contacts to your Google Contacts:

Step 1: Insert the SIM into Your Phone

Begin by inserting your SIM card into your Android or iOS device. This is the first step to accessing and transferring your contacts.

READ ALSO  2026 BECE Results Release Date Confirmed by WAEC – Check the Official Date Here!
Step 2: Open the Contacts App

On your Android phone or tablet, locate and open the “Contacts” app. If you’re using an iOS device, you can perform this process via Google’s web interface.

Step 3: Access the Menu

In the Contacts app, navigate to the top left corner, and you will find a menu icon (usually represented by three horizontal lines). Click on it to access the menu.

Step 4: Go to Settings

Once you are in the menu, look for “Settings” and select it. This will lead you to various contact management options.

Step 5: Import SIM Card to Google Contacts

Within the Settings, you will find an option to “Import.” Click on it, and you will be given the choice to “Import SIM card to Google Contacts.” Select this option, and your phone will automatically initiate the transfer.

READ ALSO  | Just In | GES Releases 2026 Graduate Recruitment Application Status – Check Here!

By following these straightforward steps, your SIM card contacts will be seamlessly imported into your Google Contacts. They will be stored securely and be accessible anytime you need them, whether you switch phones or lose your SIM card.

Google Contacts ensures that your contact information remains protected and easily recoverable, providing you with the peace of mind that your important phone numbers are never lost or misplaced.

So, say goodbye to the worry of losing your contacts, and start saving them in Google Contacts today. With this simple process, you can ensure the safety and accessibility of your phone numbers and contact details, no matter what the future holds for your devices.

Source: GESHub.org

ShareTweetSendShare

Related Posts

NSS Personnel

NSS releases monthly allowance payment schedule for service personnel – Check Here!

1 year ago
ghana.gov

NSS begins payment of allowance through ghana.gov platform – Check Here!

1 year ago
Windows 10

How to remove hidden virus from Windows 10 computer

2 years ago
Wi-Fi Password

How to fix Wi-Fi connected but no internet access

2 years ago
Windows 10

Simple steps to fix Windows license will expire soon in Windows 10

2 years ago
Facebook

Simple steps to enable Facebook Protect on your account

2 years ago
Windows 10

Simple steps to fix Windows computer that keeps restarting

2 years ago
External Hard Drive Access is denied

Simple ways to fix External Hard Drive “Access is denied” in Windows

2 years ago
Wi-Fi network

Comprehensive guide to resolving Wi-Fi network issues on Windows 10/11

2 years ago
Load More
Next Post
Instagram Verification

Instagram Verification | Simple steps to get your business verified

Ghana Passport Application

Ghana Passport Application | Simple steps to apply online

DStv Subscription

DStv Subscription | Simple steps to pay using MTN mobile money

Leave a Reply Cancel reply

Your email address will not be published. Required fields are marked *

  • Home
  • About
  • Copyright
  • Contact Us
  • Privacy Policy
  • About Justice Donkoh

© 2023 - 2026 GESHub.org. Designed by Justice Donkoh. All Rights Reserved. Thank you for visiting us.

Powered by WordPress

No Result
View All Result
  • Home
  • News
  • Guides
  • GES Files
  • NSMQ
  • About
  • Copyright
  • Contact Us
  • Privacy Policy
  • About Justice Donkoh

© 2023 - 2026 GESHub.org. Designed by Justice Donkoh. All Rights Reserved. Thank you for visiting us.